Alpine Foundation Pros
Basement Waterproofing in Alpine, UT
Basement waterproofing Alpine UT: interior drain tile, sump pumps, and vapor barriers to stop spring snowmelt leaks for good.
- 15+ Years local experience
- 500+ Projects completed
- Licensed & Insured
Serving Alpine and nearby communities.
Most Alpine homes have a full basement. Most of those basements only leak at one time of year: right after the snow on the Wasatch Range starts melting. That runoff saturates the soil around the foundation and builds pressure against the walls. Cracks and cold joints that stay bone dry the rest of the year suddenly start letting water through.
Alpine Foundation Pros treats waterproofing as a drainage problem first, not a sealant problem. A coat of paint on the wall doesn't stop pressure from building up behind it. The fix usually starts below the floor, not on top of it.
Before & after
Before and After Basement Waterproofing
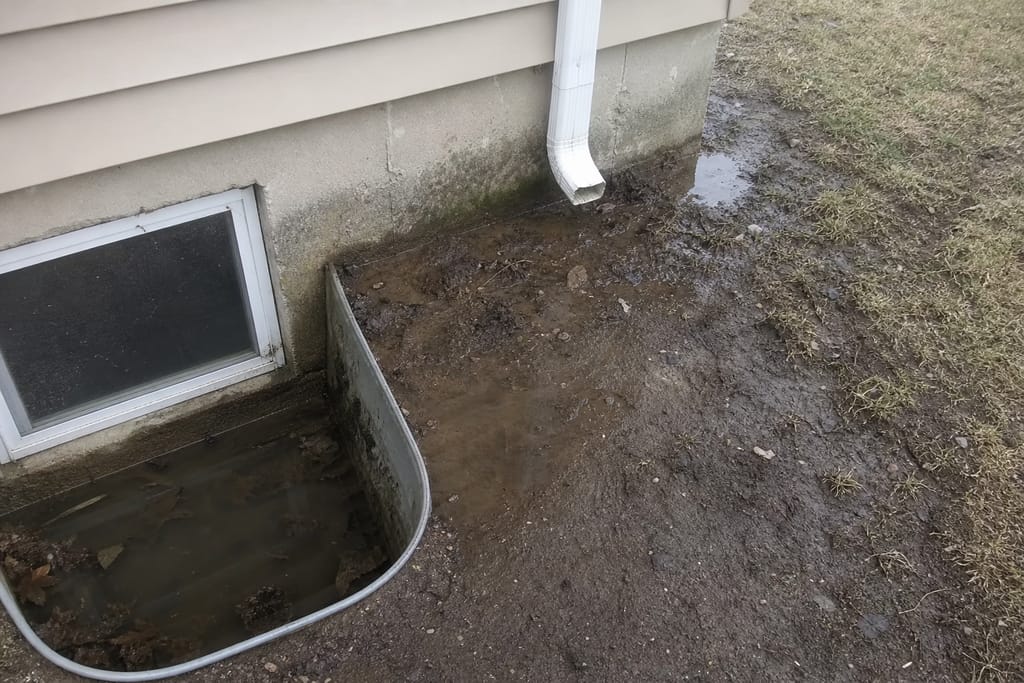
Before 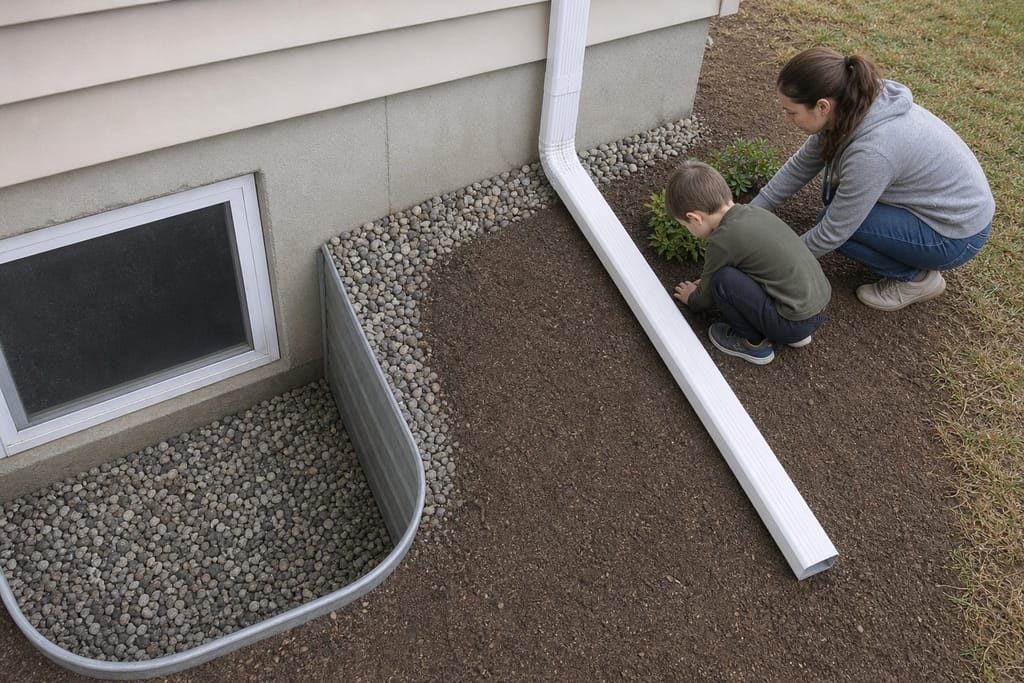
After
Codes & permits
Permits and Codes for Basement Waterproofing
Most jobs here start with a walk-through, not a sales pitch. We check grading outside, look for active cracks, and figure out where the water's actually getting in before suggesting a drain system. If the real fix is as simple as regrading a flower bed, we'll say so instead of selling a system you don't need.
| Typically needs a permit | Often no permit |
|---|---|
| Exterior excavation down to the footing for exterior waterproofing membrane | Interior drain tile installation along the basement perimeter |
| Sump pump discharge line tie-ins to a municipal storm drain | Sump pump and battery backup installation |
| — | Vapor barrier installation across basement walls and floor |
Need help with permits?
Get a Free EstimateHow it works
Our process
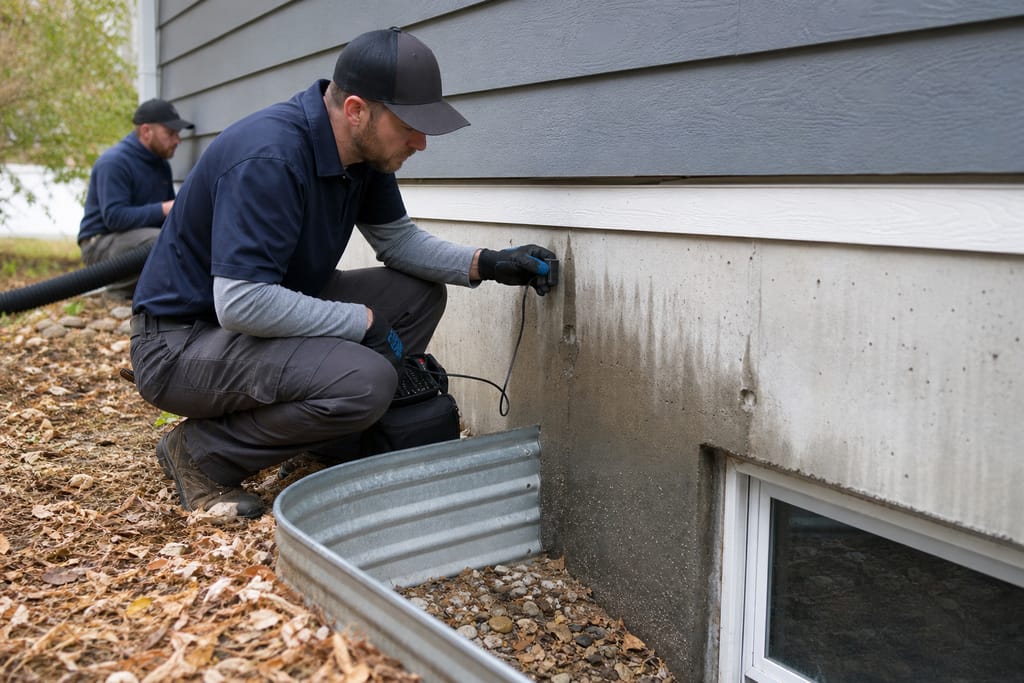 Step 1
Moisture Assessment
The basement is inspected for leaks, dampness, and water entry points.
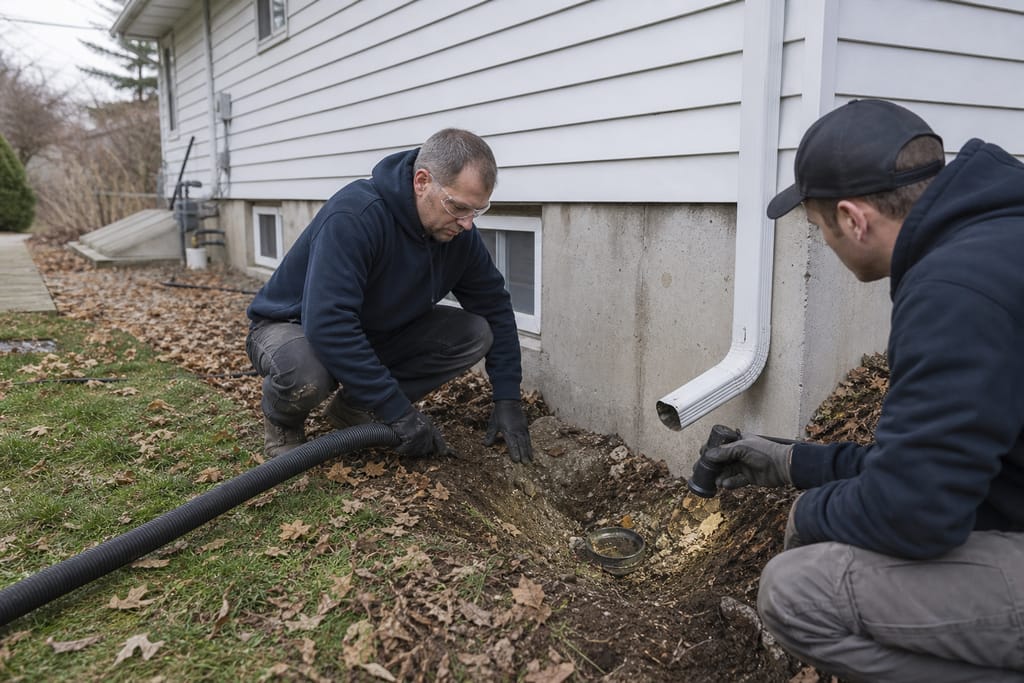 Step 2
Drainage Evaluation
Existing drainage systems are reviewed for effectiveness and blockages.
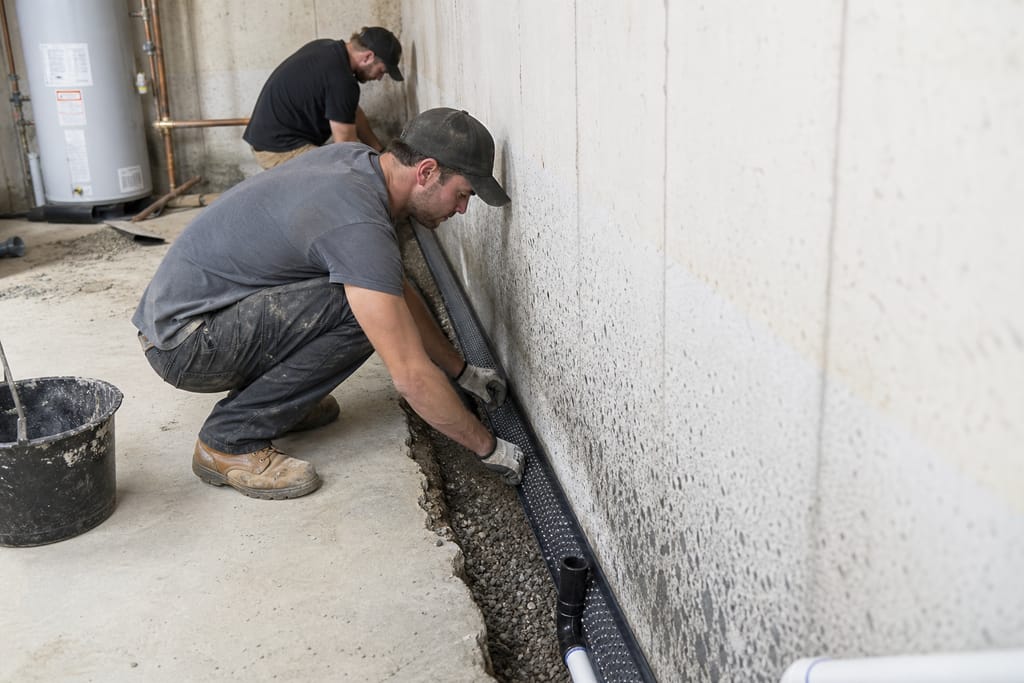 Step 3
Interior Drain Installation
A drainage channel is installed along the basement perimeter to collect water.
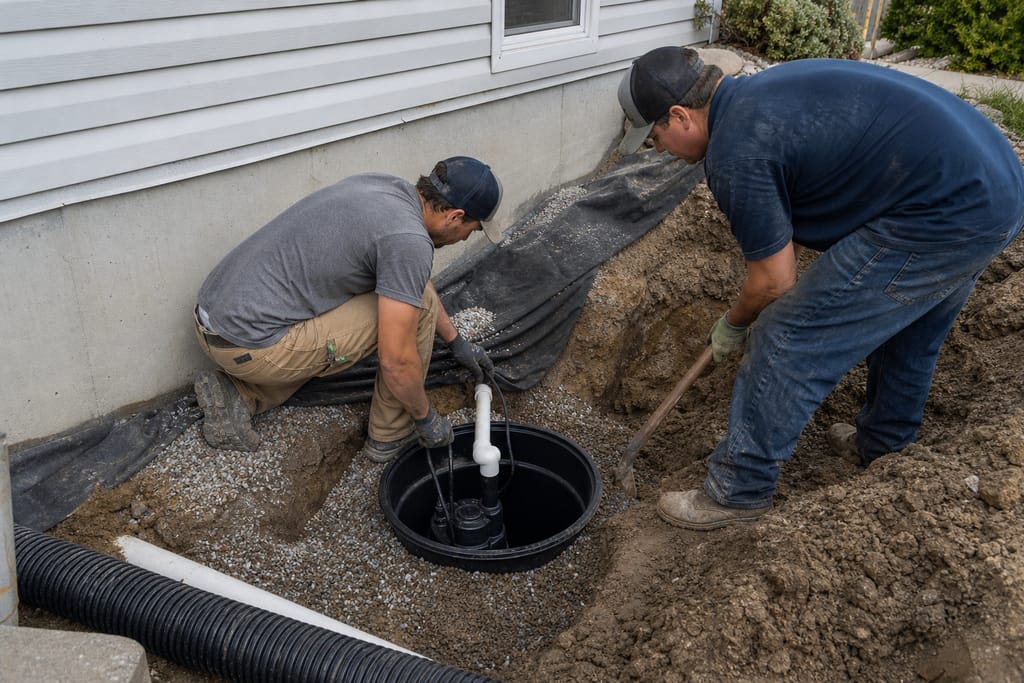 Step 4
Sump Pump Setup
A pump system is installed to remove collected water from the area.
 Step 5
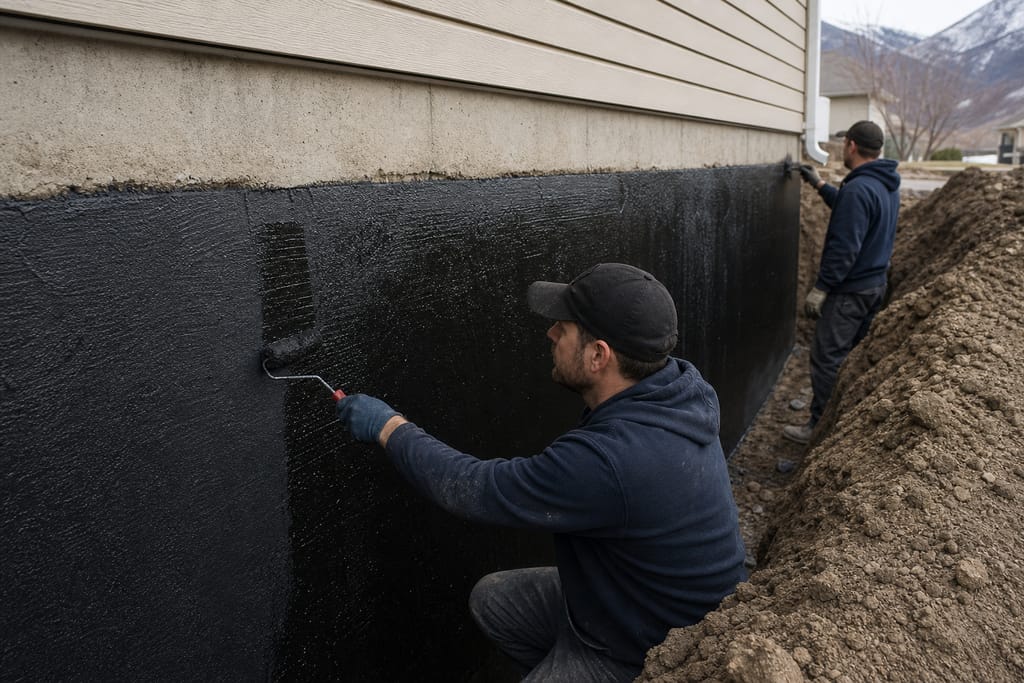
Wall Sealing
Walls are treated with waterproof coatings to prevent moisture intrusion.
 Step 6
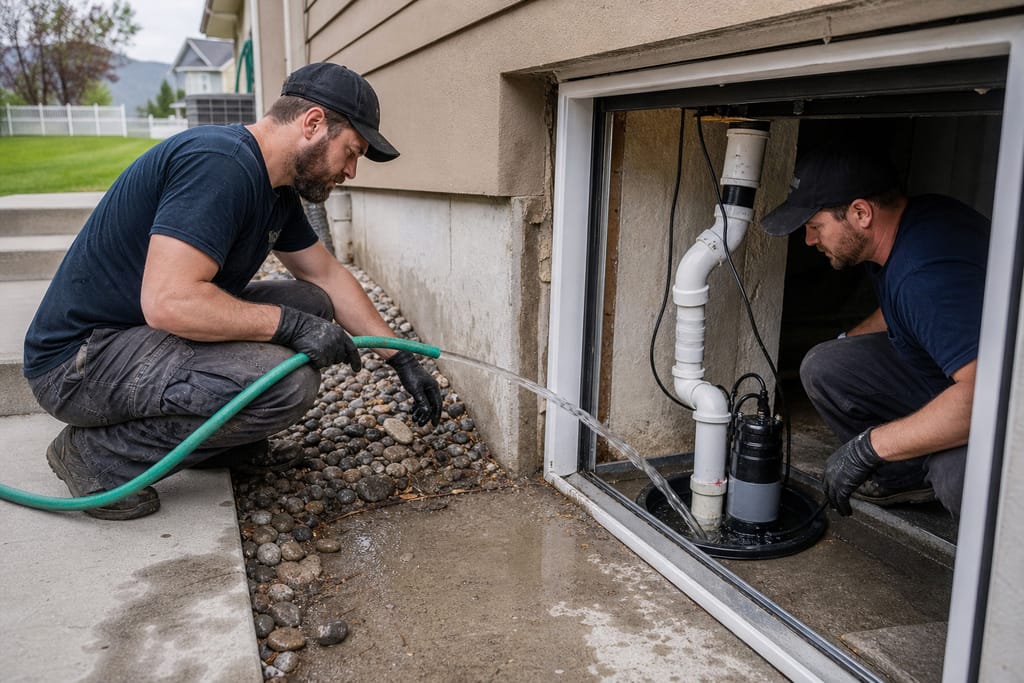
System Testing
The waterproofing system is tested to verify proper function.
Materials
Materials and methods we use
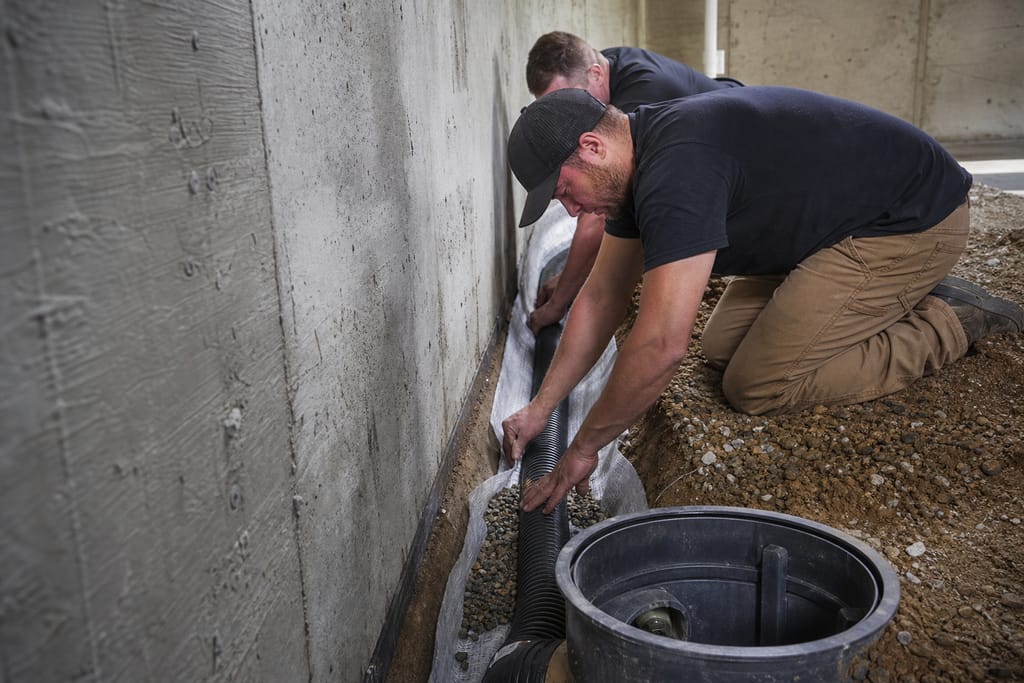
Interior Drain Tile
Channels water to a collection point before it reaches living spaces.
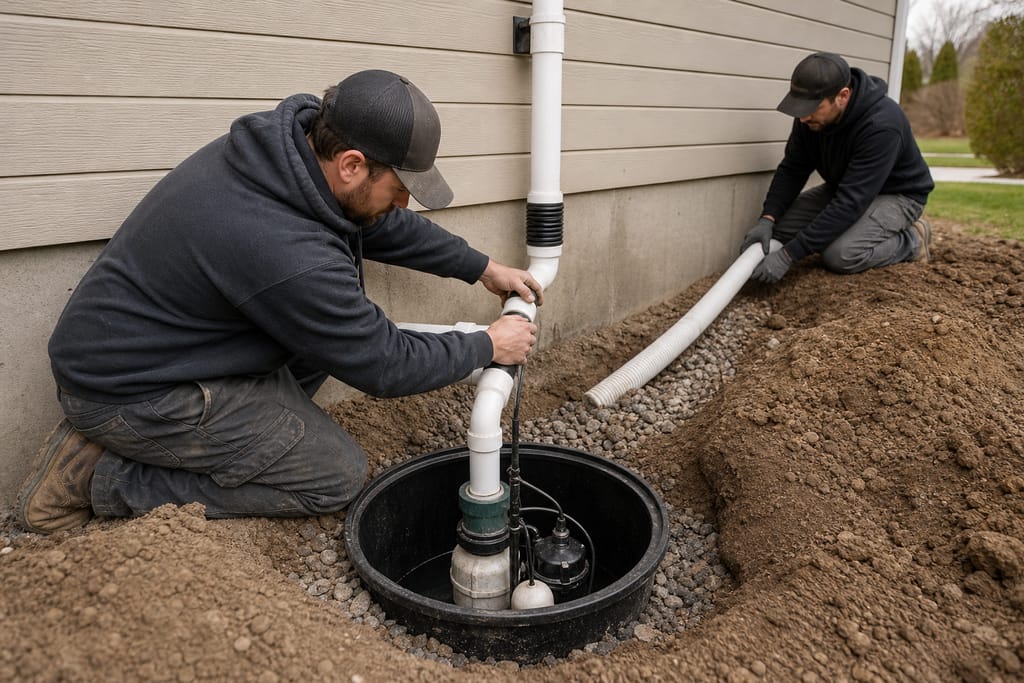
Sump Pump System
Removes accumulated water to keep the basement dry.
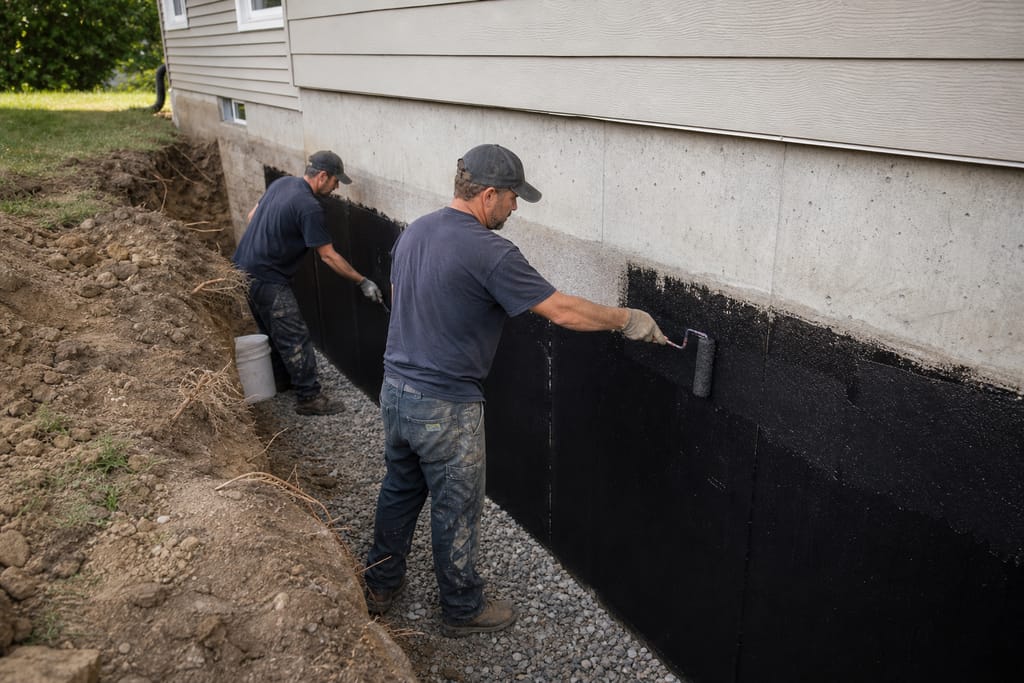
Waterproof Wall Coating
Creates a barrier against moisture penetration through basement walls.
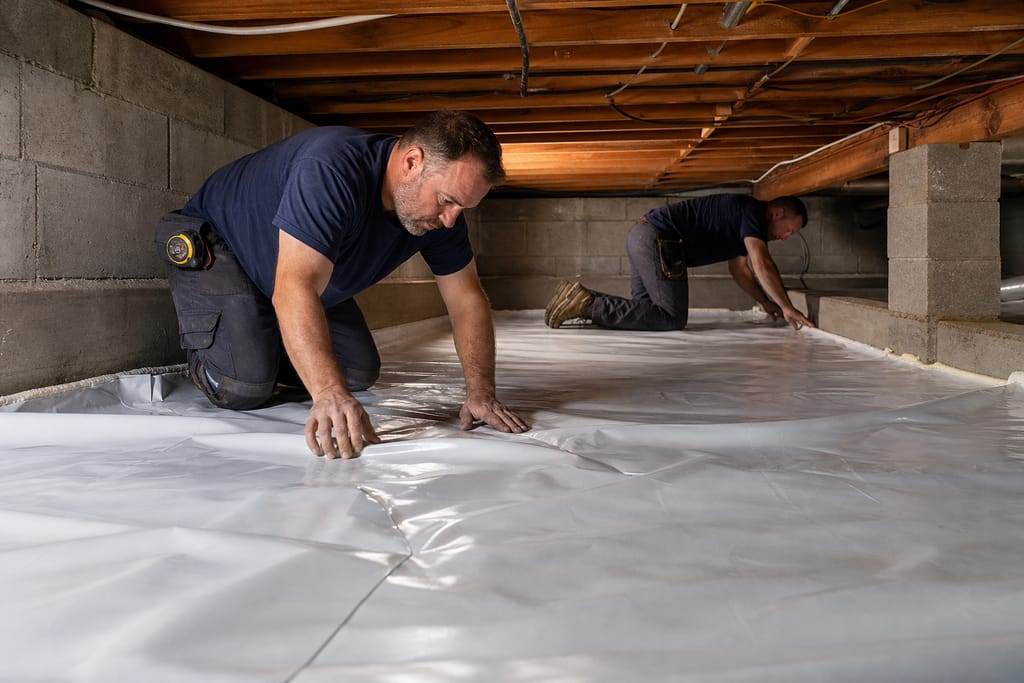
Vapor Barrier Sheeting
Reduces humidity transfer from soil into the basement space.
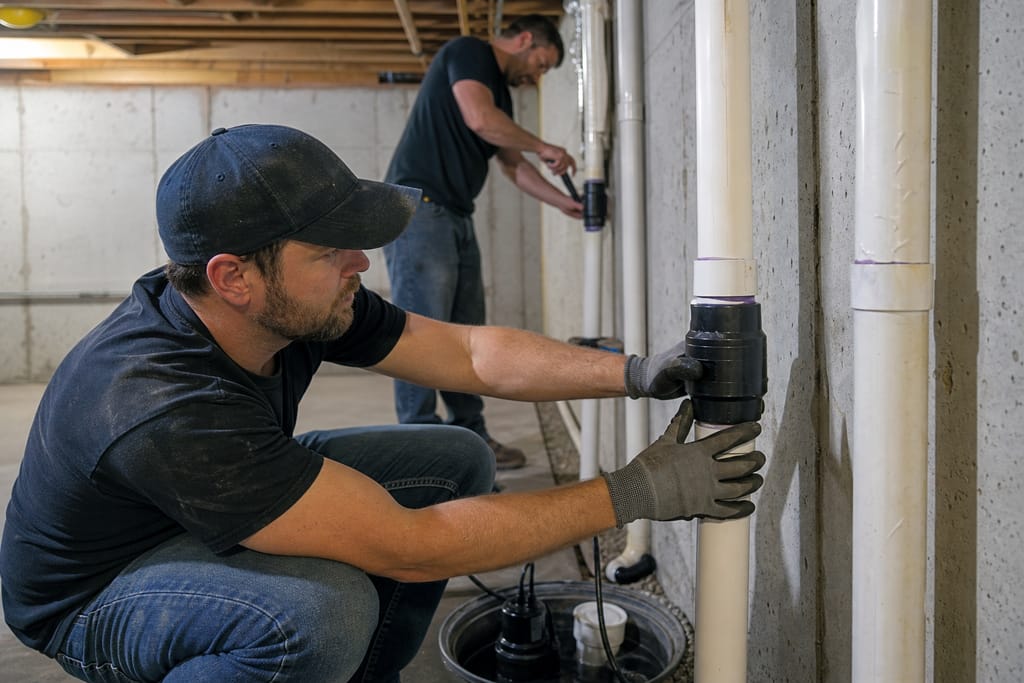
Check Valve
Prevents discharged water from flowing back into the system.
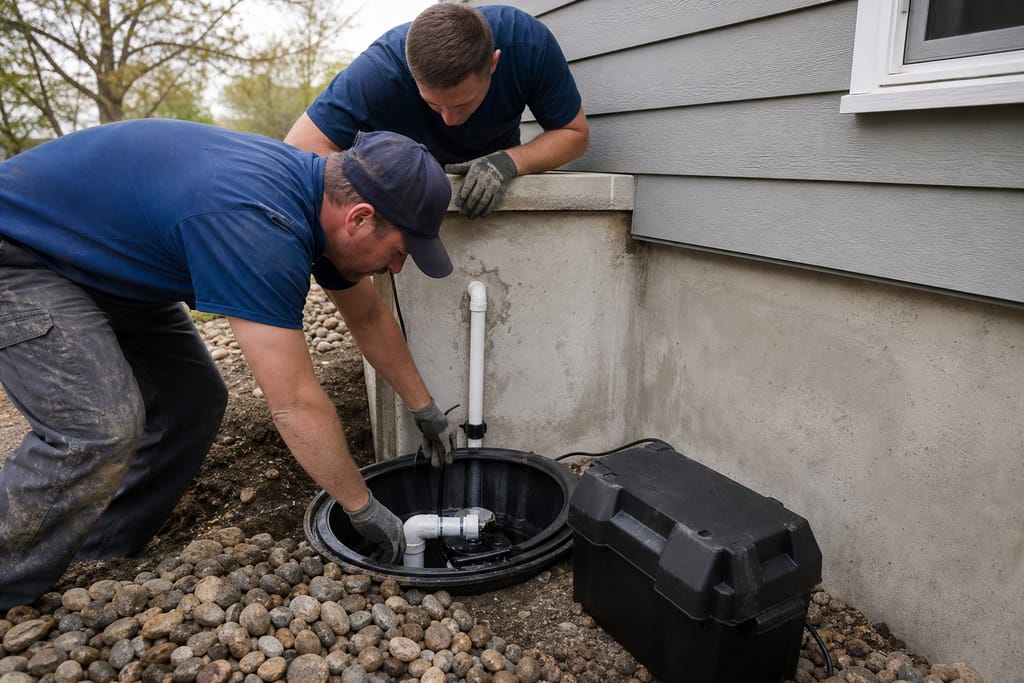
Battery Backup Pump
Provides continued pump operation during power outages.
Questions on materials?
Get a Free EstimateNext step
Get a Basement Waterproofing Estimate in Alpine
More services
Other Foundation Repair services
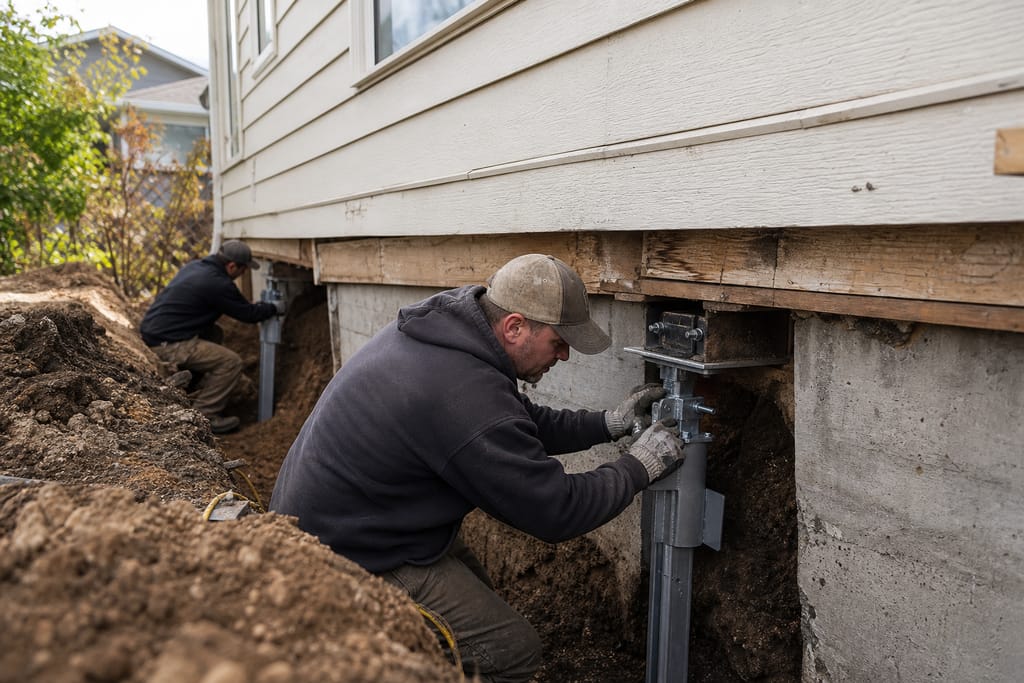
Foundation Repair
Foundation repair in Alpine, UT: crack injection, piering, underpinning, and wall support with free written estimates.
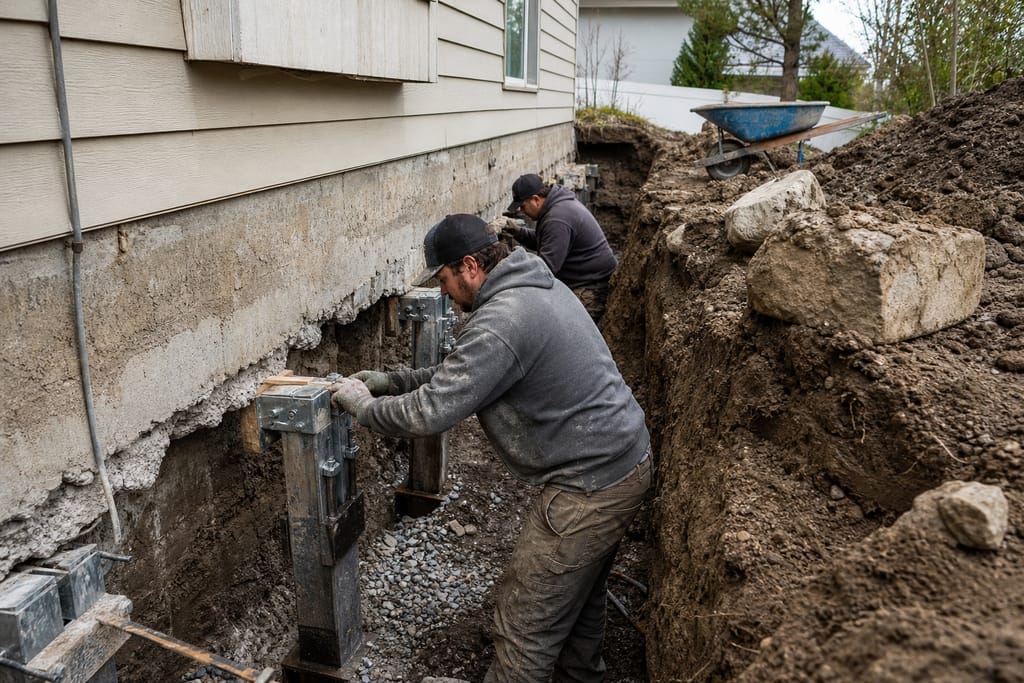
Piering and Underpinning
Piering and underpinning for Alpine, UT homes: steel push piers, helical piers, and load transfer with free estimates.
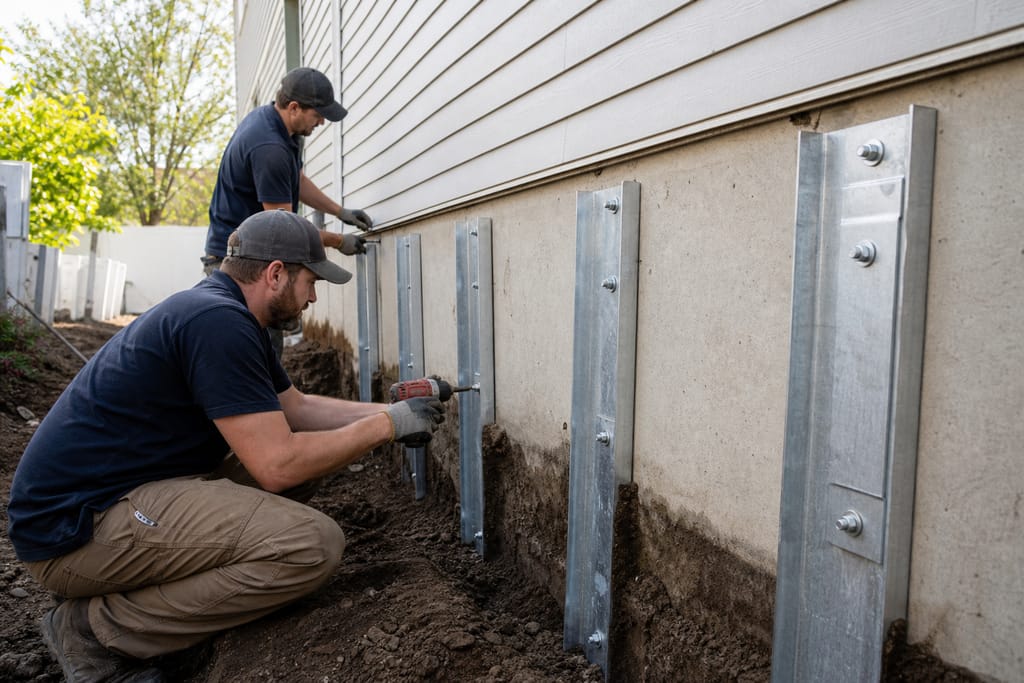
Wall Stabilization
Wall stabilization for bowing basement walls in Alpine, UT: anchors, carbon fiber, and steel bracing, free estimates.
Ask about Basement Waterproofing
Tell us about the project and how to reach you.